Showing posts with label Homemade Toys. Show all posts

Tuesday, July 29, 2014

Doll Reversible Sundress and Diapers

Sienna recently inherited a doll stroller (loves!) and a naked cabbage patch doll. So, the other day when I asked myself (outloud) what I could be doing to be productive, I found some free baby doll clothes patterns and I whipped up some clothes for it.

Reversible sun dress (free doll clothes pattern)

Doll diaper pattern (used previously)

Both patterns are super easy.

Cut 2 on fold. Sew right sides together.  Turn. Press. Top stitch. Add velcro. Done.


Sunday, June 29, 2014

A Dress for Dolly

I made Sienna's doll a dress to match the girls' flower girl dresses, mostly because the doll had no clothes. It turned out kind of weird.

Then I made a quick t-shirt for the doll out of leftover fabric from my dress, by cutting a t-shirt shape out twice and sewing side and shoulder seams. It fits more like a dress and the neck is getting stretched out, but it looks way better.

Then I made some leggings out of leftover fabric from my practice dress. Quick leg seams and a waistband.  Supposed to be pants, but leggings look better anyway under the supposed-to-be-a-shirt dress.


Sunday, September 11, 2011

Button Turkey

Thanksgiving already? I'm way early, but I got an itch to sew something and the button turkey I saw at Counting Coconuts has been on my list for a while.
Maggie helped pick out the colors, and the kids colored (a lot) while I sewed him. I blanket-stitched two layers of felt for the feathers, and whip-stitched the turkey face onto the body. We did a light-colored turkey, because our neighborhood turkey is white. No, really.
Maggie is learning the new skill of buttoning. None of her clothes require this, but she'll be getting a new wardrobe in a couple months.
She was very pleased with her first successful button!

Wednesday, August 31, 2011

Homemade Toy: Car Garage

I saw this homemade car garage for toy cars over at What do we do all day? and made it for some insta-fun. I used a Pop-tarts box. I cut off one side and use it (and lots of tape) to make the central level.
We also used an empty animal crackers box as a makeshift airplane hanger.
I made this for Dalton, and even though he's in none of the pictures, he enjoyed playing with it, too.

Monday, March 14, 2011

Craft Ideas for The Oregon Trail Game

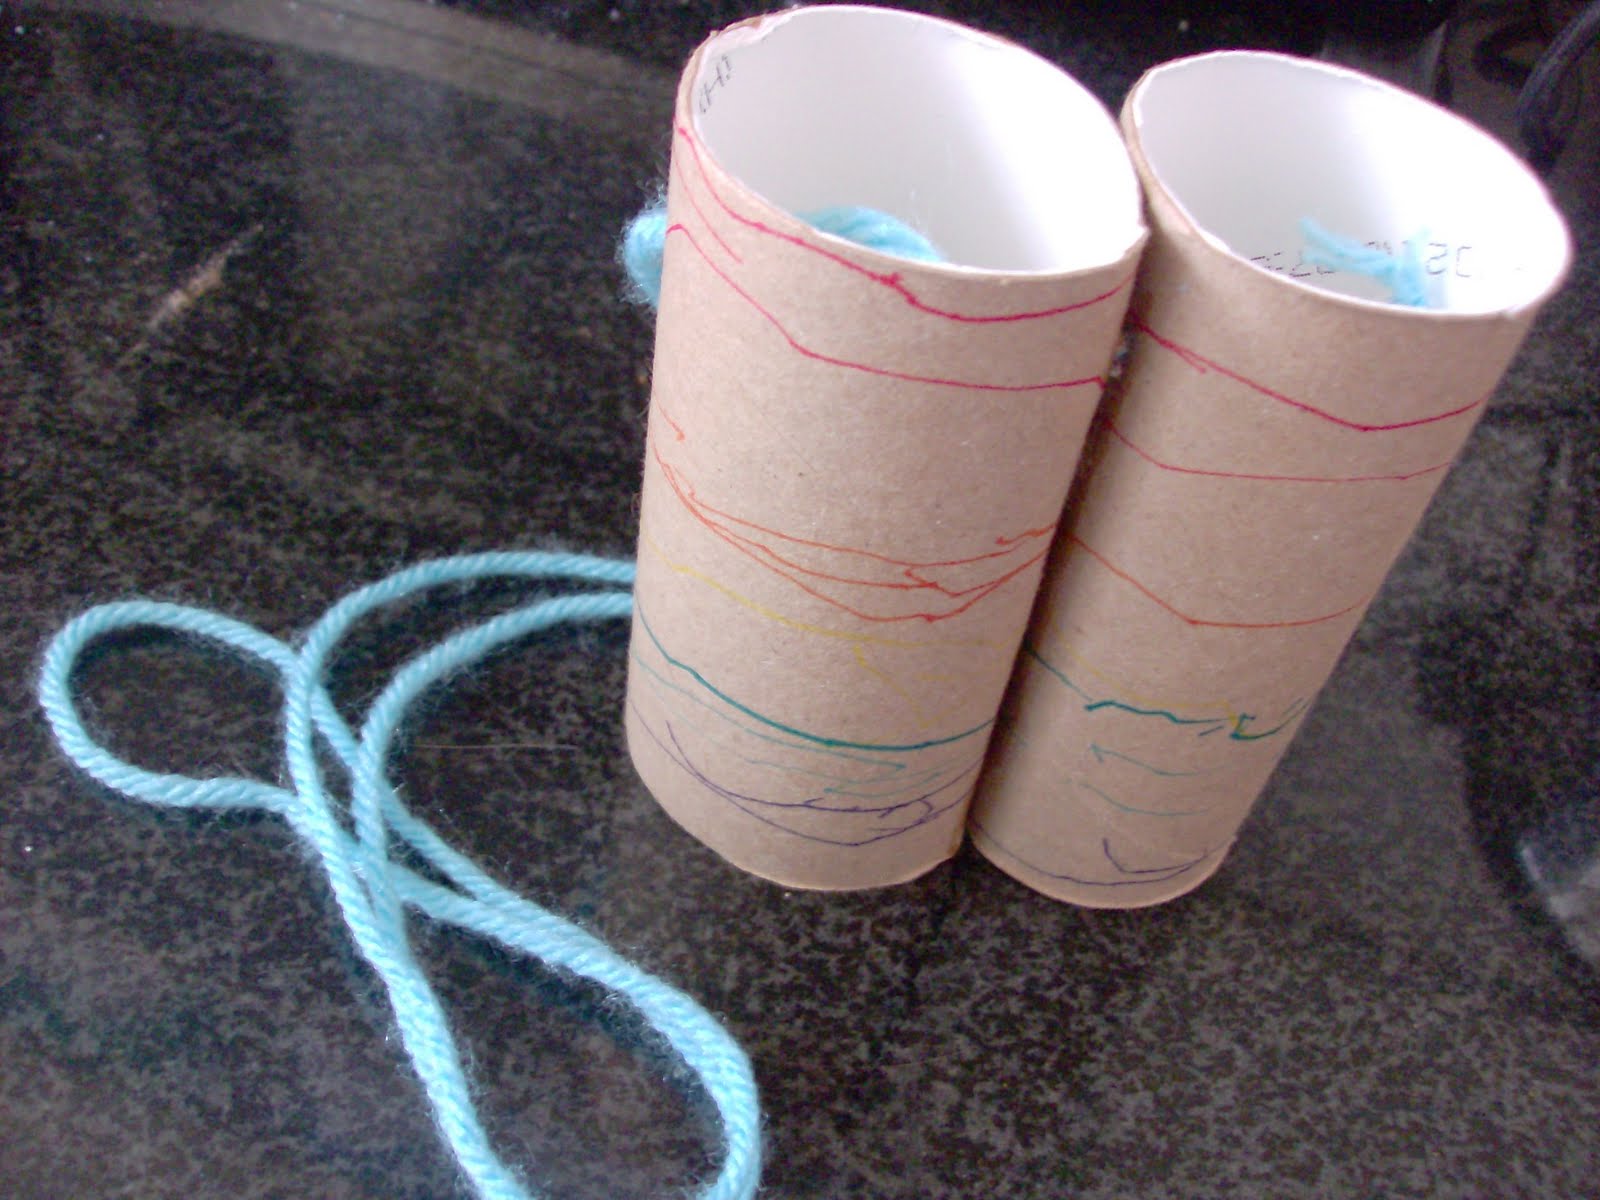
Anyone else have a preschooler who's obsessed with The Oregon Trail game on Facebook? No? Just us? It's turned into a world of pretend play at our house. First, we decided to make some binoculars out of a pair of empty toilet paper rolls. Maggie colored them with rainbow colors, and I threaded a long string of yarn through punched holes. We put a couple rubber bands around them to hold them together while the glue dried, and filled the crack between them with lots of glue.
Maggie loves to pretend she's playing the search mini game on The Oregon Trail, in addition to really playing it. We also play I Spy with these binoculars.
Another Oregon Trail related craft we made was this "oxcart." I was cutting up the paper bag to make a mud puddle for Maggie's birthday party. She wanted the handle I cut off to make a wagon with. Once I taped it to half a cereal box, she insisted the mud puddle become a cover. So now we have this fun covered wagon toy.
Here's how I taped the handle to the inside.
Both of these toys were free and just took a few minutes to make. And they've provided hours of fun, off the computer.
Just for fun, here is a video of the kids pretending to be oxen while I sing The Oxcart from The Children's Songbook.


This song is originally about the Utah Pioneers, but it is pretty applicable to daily life here in India. This is the best picture I've been able to get so far.

Tuesday, June 1, 2010

Felt Car Playmat

Not much sewing going on around here (if you haven't heard, we are moving 8600 miles), but I finally finished a "car playplace" for Maggie. I made one a couple weeks ago for a baby shower, and then it took me a long time to get Maggie's done. This is why I don't sell the things I make - I get bored making more than 1 of anything.
It is just a felt playmat for her to play cars (and trains!) on, but I wanted it to be a little more interactive than just a road. So I added a mailbox and a little letter (thanks, Tasha!), train tracks with movable barriers (thanks, Rachel!) a tunnel, and a parking lot (thanks, John!). Originally, I'd planned on something she could hold in her lap (12x12) but it just wasn't big enough! Still, this is small and lightweight enough to take with us on the plane.
Inspiration for gas pump, carwash, pond and garage here. I got the shoelaces for the gas pumps 3/$1 at the dollar store.
Cozy Cone Motel (inspiration here)
It folds into thirds and rolls up with a tie sewn to the back. I might add a snap to the tie.
Here's the baby's. Not quite as fancy, but he got his name embroidered on it. I couldn't decide on a spot for Maggie's so it's still blank.

Thursday, April 1, 2010

Felt Lollipops

Used the tutorial from One Inch World. These are for Colette's birthday, though I made some for Maggie too, of course.
ETA: These are not very durable. They didn't last long at all with the toddlers.

Monday, March 29, 2010

Easter Bunnies

I made these marshmallow peep bunnies out of felt for Easter this year. I made enough for my Primary class, my nieces, and of course Maggie and Colette (totally counts as felt food!) I just cut out two bunny shapes for each and embroidered french knots for the eyes and nose. Then I blanket stitched the two sides together, stuffing before finishing off. I also decided to add arms to the bunnies to hold a treat, cash, or a note. The arm is just a strip of felt, added to the blanket stitch on both sides. I was going to do the Peeps chicks (pattern here), but I didn't really like how the one I made turned out, plus I liked the bunny-arm idea.Why can't she sit this still when I'm trying to take a picture of her?

Monday, March 15, 2010

Felt Play Money

I made a few felt play bills for Maggie today. I like how the freehand cutting and the handstitching gave them a bit of a cartoony look. I got the idea here.

Felt Fortune Cookies and Chinese Take Out Box

I followed the instructions for making the felt fortune cookies at Somewhat Simple. They were really easy and fast to make. The Chinese take out box is another story. I sewed the whole thing by hand, plus the embroidery. I got the pattern and instructions here. It was fun and definitely worth the effort, though. This is one of my favorite items of felt food I've made so far.

Saturday, February 6, 2010

Felt Green Eggs and Ham

Maggie is very into the book Green Eggs and Ham right now. In fact, I often quote it to get her to try new things (like the Winnie-the-Pooh ride). For her birthday, I made her a set of green eggs and ham out of felt, to go with her felt play food collection. The other felt green ham I found online was more of a slice of ham, but I went ahead and tried for a half a ham. I folded a square into a triangle and sewed on edge. Then I rounded the top (not enough) and added an oval to the opening. I sewed some detail stitching and a bone on the oval first. It was pretty easy to make. I think she's going to love it.

I used 1 sheet of green felt and already had the white felt and polyfill. So 30 cents for this gift.

It appears I am rapidly running out of the time when I can make gifts in front of Maggie. While I was finishing up the eggs, she walked in an said, "hey! an egg!" Oops.

I finally found the original idea I saw here. I really thought it was a ham shaped ham, but I guess not.

Saturday, December 19, 2009

Felt Hot Dog and Bun

I made felt hot dogs to add to Maggie and Colette's felt food collections. The mustard is yellow ric rac (they were out of red). I published detailed instructions here.

Tuesday, October 6, 2009

Quiet Book

I finally finished (stopped) Maggie's quiet book. It's almost entirely felt. I love felt. I bound it by sewing button holes on the side of each page and tying it together with yarn. That way I can easily add more pages when I get around to it. I only have five pages done so far. Click on any images to view them larger.

Gumball page: color matching. Each little circle is velcro-ed on. Maggie can do this one herself and loves to pretend to get the colors wrong. I pretty much copied this exactly from Crafty Chic.
The idea for the Seasons page came from Sew Can Do. Maggie is obsessed with the seasons, so this was perfect for her. My Spring umbrella turned out ugly, so I did Easter eggs instead. I embroidered the name of the season on each section using my trusty darning foot.
Some of the pieces snap off. Maggie likes to take them all off so I can put them on again for her. I used sew-on snaps.
The main thing I looked at while making the button-on flower page was an etsy listing that isn't up any more. The flowers are the only thing in her book made from fabric. I topstitched two layers wrong-sides together and sewed button holes in the middle of each. This was my first attempt at button holes.
Maggie can't do this one at all yet, but she'll learn.
Another one of Maggie's obsessions: "cuckoo clocks." To make the hands, I sewed two layers of felt together, then added button holes. I sewed the button on loosely so I could put the hands on (they're pretty thick) and they would still turn. I am thinking of adding some words (anything but "Time for Church!") but I haven't decided what.
This is the page for Maggie to do her felt puzzles on. I got the idea for the felt puzzles from Crafty Chic, but I didn't copy her puzzles and I'm glad I didn't: the puzzles are a LOT harder than you'd think! I don't have anything to keep the puzzle pieces in. I couldn't decide how to do it, so we're going to just use a baggie for now.
These are the first puzzles I made, months ago. The dinosaur one is really hard to do. Here is my most recent puzzle, the fish. I thought about it a lot before I did it, and here are some felt puzzle tips:
  • Fill as much of the square as you can. White space makes it difficult to figure out where the piece goes. This is the dinosaur's problem. That's why I added the bubbles and seaweed to the fish puzzle. Also, the seaweed anchors the puzzle and it's easy to tell Maggie that it goes on the bottom.
  • Sew everything down before cutting the puzzle up. Then stitch again around any open edges.
  • Use a rotary cutter, if you have one. This should have occurred to me much sooner than it did.
  • Don't make a 7" square puzzle. Seriously. Just make it 6 inches and you can easily cut it into 2" squares. This is the "beep beep"'s problem.
Here are some more homemade quiet books I looked at for ideas while making this. A lot of these are for very young children so I didn't use them. I wanted something very interactive for Maggie.
ABC quiet book
How to make a quiet book - very detailed instructions and some great ideas.
Homemade by Jill
Naptime Journal

Sunday, September 20, 2009

Baby Rattles

I made two little wrist rattles out of fabric and ribbon scraps. The Peanuts one (from a Leonard boxers scrap so small I can't believe I saved it) is for our baby. The other one, from Wonder Box scraps, is for a friend who is expecting a girl this week. I also made her a pair of baby shoes. The baby shoes fabric is from the wallets I've made.
The wrist rattles were quick and easy to make, other than some hand sewing. Here is the free pattern (PDF).Maggie thinks these are a lot of fun, so hopefully the babies will too.